Wavy Crochet Pattern Tutorial
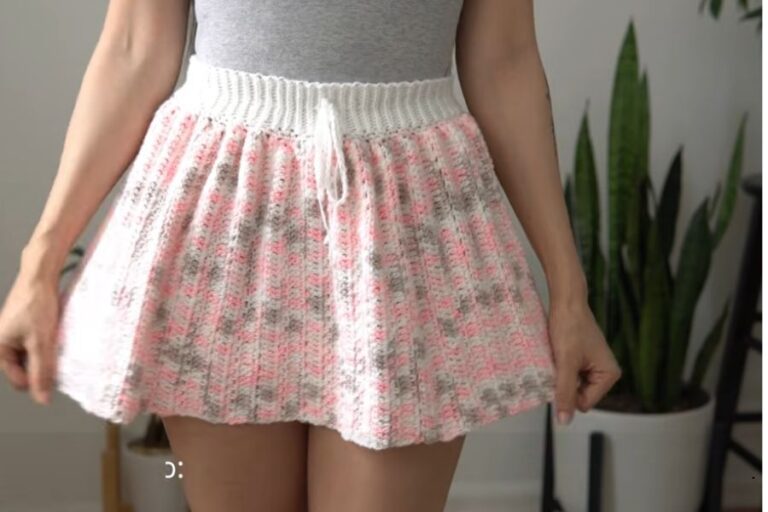
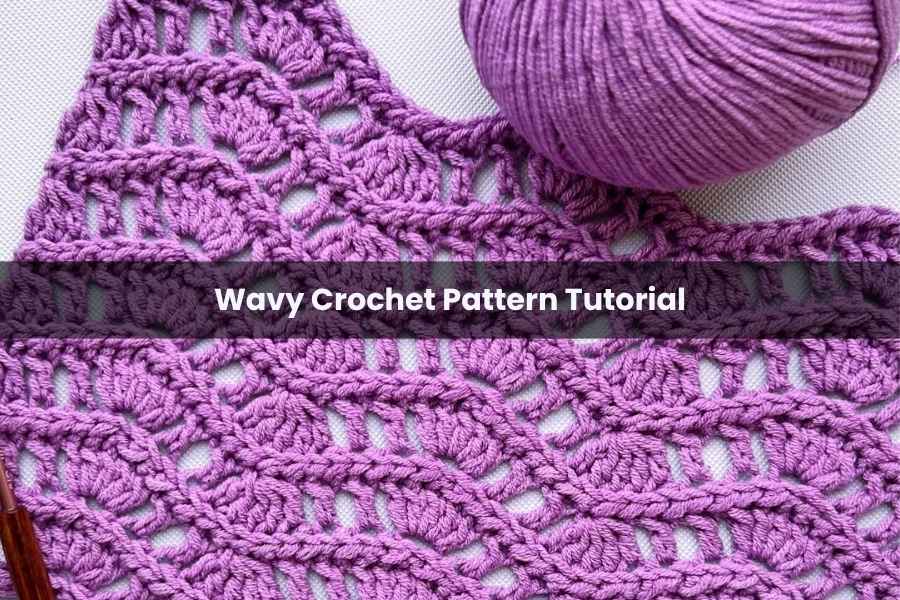
There is something hypnotic about a stitch that mimics the rhythm of the ocean. This wavy crochet pattern combines graceful shells and dips with a unique braided texture, making it the perfect choice for your next lightweight summer tunic or heirloom throw. Let’s grab a hook and master this flow together!
Getting Started: The Foundation
To ensure your waves line up perfectly, you need a specific stitch count. This pattern works on a multiple of 8 plus 1 for symmetry. For this tutorial, we are using a foundation chain of 33 stitches.
The Foundation Row: Creating the Braid
Before we dive into the waves, we create a textured base. This row is worked on the “wrong side” but creates a beautiful braided effect on the “right side.”
- Make one turning chain.
- Yarn Over Slip Stitch: Yarn over, insert your hook into the second chain from the hook (back loop only). Pull the yarn through, and then immediately pull that same loop through the remaining two loops on your hook.
- Repeat this in every stitch across. You should have 33 stitches.
Row 1: The Wavy Pattern Repeat
This is where the magic happens! We use double crochet clusters to create the peaks and valleys.
- The Starting Edge: Chain 2 (counts as part of the first decrease). Work 2 incomplete double crochets (DC) into the next two stitches, then yarn over and pull through all loops. This creates a small starting decrease.
- The Valleys: Chain 1, skip a stitch, and work 1 DC into the back loop. Repeat this once more (Chain 1, skip 1, 1 DC).
- The Peak (The Shell): Chain 1. In the next stitch, work 5 Double Crochets all into the same back loop. This creates your wave’s crest.
- The Valley (The Big Decrease): After your shell, work the “valley” spacing (Chain 1, skip 1, 1 DC, Chain 1, skip 1, 1 DC). Now, work 5 Double Crochets together (5DC-Tog) across the next five stitches. This deep decrease creates the dip in your wave.
- Finishing the Row: Continue the sequence of shells and decreases. To keep the row symmetrical, end with a 3 DC-Tog decrease at the very last edge.
Row 2: The Texture Row
To highlight the waves and add stability, Row 2 returns to the braided texture.
- Chain 1 and turn.
- Work Yarn Over Slip Stitches into the back loops of every stitch and chain space across.
- Ensure your final stitch is worked into the top of the turning chain to keep your edges straight.
Bringing it All Together
By repeating Row 1 and Row 2, you will see a sophisticated, rippling fabric emerge. The combination of open chain spaces and solid “braided” rows makes this pattern incredibly breathable—perfect for a summer shawl or a vertical-striped beach cover-up.
If you find yourself stuck on the decreases, just remember to keep your loops loose on the hook before the final pull-through. I can’t wait to see the beautiful textures you create with this!
Pro Tip: Try using a variegated yarn to see the waves change colors like a sunset on the water!
Do you have a specific project in mind for this pattern, or are you just practicing your stitch library today?