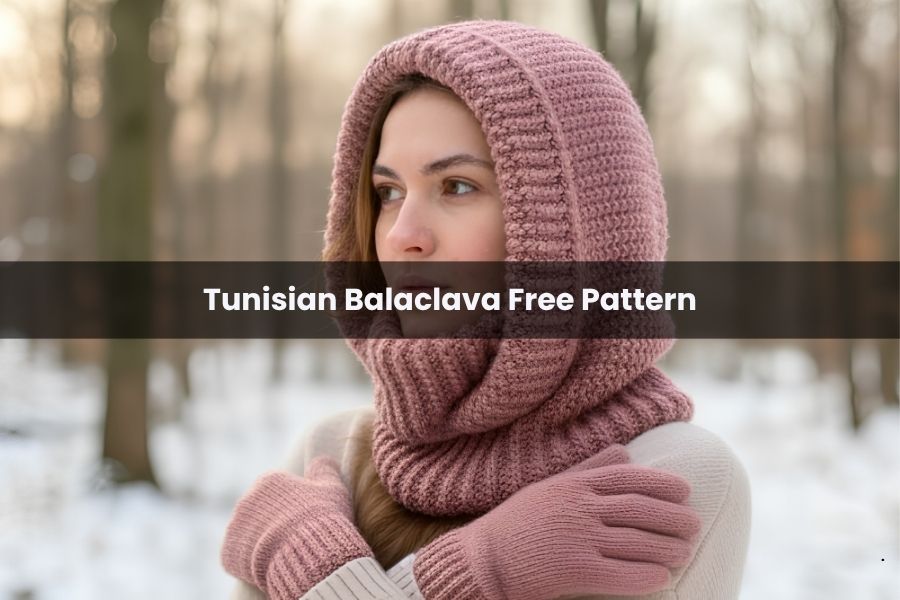
Tunisian Balaclava Free Pattern
Tunisian crochet is often known for its tendency to curl, but this balaclava design solves that problem entirely. By utilizing a specific construction method—sewing the top seam and incorporating a folded ribbed brim—you get a professional, snug fit that stays flat and looks incredibly stylish.
Whether you are new to Tunisian crochet or a seasoned pro, this project is straightforward, fast, and satisfying.
Materials Needed
To achieve the best texture and warmth, the following materials are recommended:
- Yarn: Medium weight (Category 4) yarn.
- Pro Tip: If you run out of weight 4 yarn, you can hold two strands of lightweight (Category 3) yarn together. This creates an identical gauge and a seamless transition.
- Hook: 6.0 mm (Size J) Tunisian crochet hook with a cable.
- Tools: Tapestry needle for assembly and scissors.
Phase 1: The Neck Ribbing
We begin with the neck, which is worked in standard crochet to ensure maximum elasticity and comfort.
- The Foundation: Create a slipknot and chain 35.
- Row 1: Skip the first chain. Work one single crochet (SC) into the second chain from the hook and into every chain across. You should have 34 SC.
- Row 2 (Back Loop Only): Chain 1 and turn. Skip the turning chain. Work a single crochet into the back loop only (BLO) of every stitch across.
- Growth: Repeat Row 2 until your ribbing measures 50 centimeters in length.
- Joining: Fold the ribbing in half so the short ends meet. Join them using a loose slip stitch through both layers. Do not pull too tight, or the seam will lose its stretch.
- Finishing the Brim: Fasten off and cut the yarn.
Phase 2: Building the Hood
Now we transition to Tunisian crochet. To ensure the “seam” from the ribbing stays at the back, we will attach our yarn to the top edge of the ribbing, starting from the back center.
Picking Up Stitches
- Attach your yarn to the edge of the ribbing. Switch to your 6 mm Tunisian hook.
- Pull up a loop and chain 1.
- Go around the entire circumference of the ribbing, picking up one loop from the end of every row.
The Increase Rows
To give the balaclava its shape, we incorporate increases at the beginning and end of the rows.
- The Increase Technique: To increase, simply yarn over (YO) before picking up a stitch.
- The Return Pass: Yarn over, pull through 1 loop. Then Yarn over, pull through 2 loops for the rest of the row until only 1 loop remains.
- The Forward Pass: Work in Tunisian Simple Stitch (TSS). Remember to add an increase at the beginning and end of each row.
- Progression: Continue this increase pattern for 11 rows (approximately 9 centimeters of growth).
The Main Body
Once the increases are complete, continue working back and forth in TSS without any further increases. Work until the hood measures 30 centimeters from the bottom of the ribbing to the top edge.
Phase 3: The Bind Off
Binding off in Tunisian crochet creates a clean, finished edge that prevents the fabric from stretching out of shape.
- Insert the hook into the next vertical bar (as if to TSS).
- Yarn over and pull through the stitch and the loop on your hook. You should only ever have one loop on your hook.
- Crucial: Keep your tension loose. If you bind off too tightly, the top of the hood will be restrictive.
Phase 4: Final Assembly
- The Top Seam: Turn the balaclava inside out (wrong side facing you).
- Using a tapestry needle and a length of yarn, sew the top edges together using a whip stitch or mattress stitch. Ensure you go through both layers for a secure hold.
- Weaving Ends: Weave in all loose yarn tails securely.
- The Reveal: Turn the balaclava right side out.
Fold up the bottom ribbing to your desired height. The result is a thick, warm, and beautifully textured Tunisian crochet balaclava that is ready for the coldest weather.