Lightweight Light Cardigan Crochet Pattern Free Guide
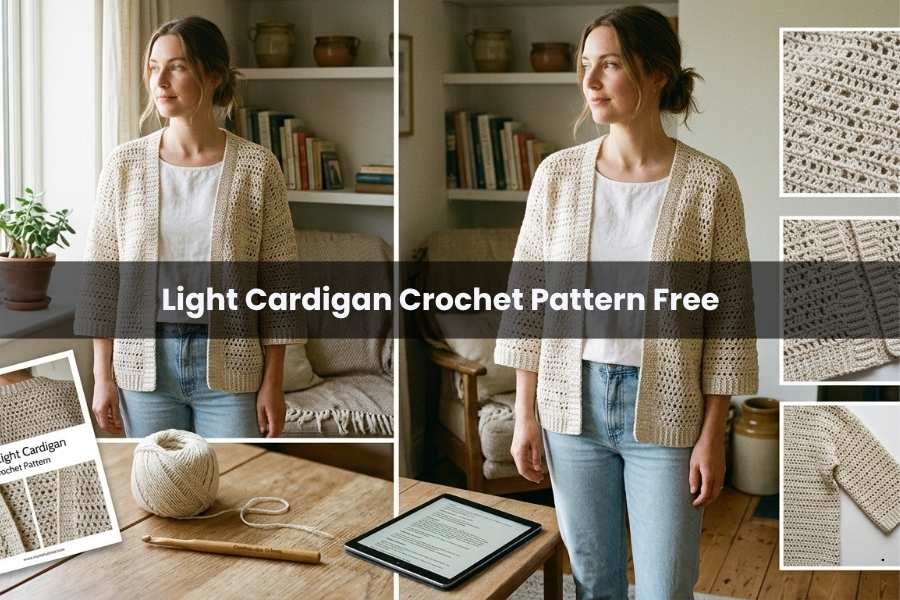
This airy, lightweight cardigan is the perfect layering piece for any season. Using a delicate mesh-like stitch and sport-weight yarn, this project is designed for simplicity and elegance. This guide walks you through creating a stylish, custom-fit garment that is breathable, comfortable, and easy to recreate in any size.
Project Overview & Materials
This cardigan is constructed from two identical panels that are joined together, making it an excellent project for beginners.
- Yarn: Durable Comfy Yarn (100% microfiber acrylic, size 2 Sport weight). Approximately 5 skeins (500g) are needed for an extra-small size.
- Hook: 4.0 mm (G/6) crochet hook.
- Other Tools: Tape measure, scissors, and a darning needle for assembly.
Sizing and Measurements
The pattern is highly customizable. To ensure a perfect fit, you will need to take a few key measurements:
- Wrist Circumference: Measure your wrist and add 2 inches of allowance for a comfortable fit.
- Sleeve Length: Measure from your wrist to your underarm.
- Body Length: Measure from the top of your shoulder down to where you want the cardigan to end.
The Stitch Pattern
The design alternates between solid rows and “X-Stitches” to create a mesh texture. The repeat consists of four rows:
- Row 1: Double Crochet (DC) row.
- Rows 2 & 3: Cross Stitch (X-Stitch) rows.
- Row 4: Increase row (working two DC in the first and last stitches).
How to work the X-Stitch:
- Skip one stitch.
- Work a double crochet into the next stitch.
- Go back to the skipped stitch and work a double crochet into it.
Construction Guide
1. The Sleeve
Start at the wrist by chaining a multiple of two that matches your wrist measurement plus allowance.
- Work the four-row repeat, increasing every fourth row to gradually widen the sleeve as it moves toward the shoulder.
- Continue until the sleeve reaches your underarm.
2. The Front and Back Panels
Once the sleeve is long enough, you will create a long chain on both sides of the sleeve to form the body of the cardigan.
- Chain the desired length for the body (ensure it is an odd number).
- Repeat the stitch pattern across the entire width (new chain + sleeve + new chain) without further increases.
- For an extra-small, work until the body portion measures 9 inches wide. Reference the chart provided in the video for other sizes.
3. Assembly
Repeat the process to create a second, identical panel.
- Joining the Back: Place the two panels side-by-side. Use a mattress stitch or your preferred joining method to sew from the bottom hem up to the center of the panels.
- Joining the Sides: Fold the panels and sew from the bottom hem up to the underarm, then continue down the length of the sleeve.
4. Finishing Touches
To give the cardigan a professional look, reattach your yarn at the bottom corner and work a row of single crochets all around the bottom edge and up through the front opening.
Note: Because this pattern relies on visual placement for the mesh stitches and specific sizing adjustments, the below video contains all the steps you need to complete the project successfully.