Free Hello Kitty Crochet Pattern for Cute Handmade Fun
Video Tutorial Included
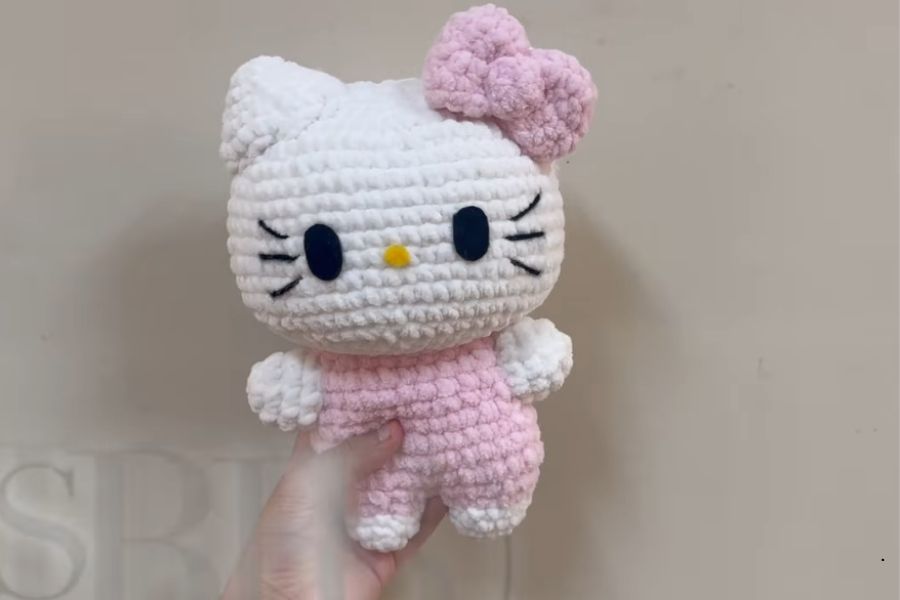
Welcome, crochet lovers! Today we are diving into a super fun, free crochet pattern to make your very own Hello Kitty plushie. This cute, classic project is perfect for crafters of all skill levels who want to bring this beloved character to life.
Starting the Head with a Magic Ring
To begin Hello Kitty’s head, you start with a technique called the magic ring. This special circle is the foundation of many toy projects. It allows you to close the center hole completely so that no stuffing leaks out later. You simply stitch a few single crochets into the loop, then pull the yarn tail gently to draw the ring tight.
Expanding with Smooth Increases
Once your center ring is secure, you will grow the head by adding increases. Increasing means placing two stitches into a single space instead of just one. By following a steady pattern of increases, your circle grows larger and wider without curling. It is super important to use a stitch marker at the very end of each round. This small tool helps you remember exactly where you started so your stitch counts stay correct.
Shaping and Decreasing
After the head reaches its widest point, you will work several rounds of simple single crochets to build height. This turns your flat circle into a cup shape. To finish the head, you will start decreasing. Decreasing merges two stitches into one to narrow the opening. Using the invisible decrease method keeps your work looking incredibly neat and prevents gaps in your toy.
Working with Plush Yarn
Plush yarn is wonderfully soft and makes the cuddliest toys. However, it can be a bit delicate. If you pull too hard on plush yarn, it can snap easily. Always use a gentle touch when pulling your magic ring closed or tightening your stitches to keep your yarn safe.
The Magic of Stitch Markers
When crocheting in continuous rounds, it is very easy to lose your place because the transitions are seamless. A stitch marker is your absolute best friend! Simply pop it into the last stitch of every round. This way, you will always know when a round is finished without having to recount all your stitches from the beginning.
Mastering the Invisible Decrease
For the neatest results on stuffed toys, always use the invisible decrease. By inserting your hook only into the front loops of your stitches, the decrease blends in with the rest of your fabric. This keeps the shape perfectly round and prevents the white stuffing from showing through.
Watch the Full Step-by-Step Video
Are you ready to create your own cute plushie? The below video contains all the steps you need to successfully crochet this adorable Hello Kitty from start to finish!