Perfect Crochet Circle Pattern for Many Creative Projects
Video Tutorial Included
Crocheting a perfect circle is one of the most useful skills you can learn in crafting. It serves as the foundation for countless fun projects, from cozy coasters and stylish hats to cute stuffed animals and warm blankets.
What is a Crochet Circle Pattern?
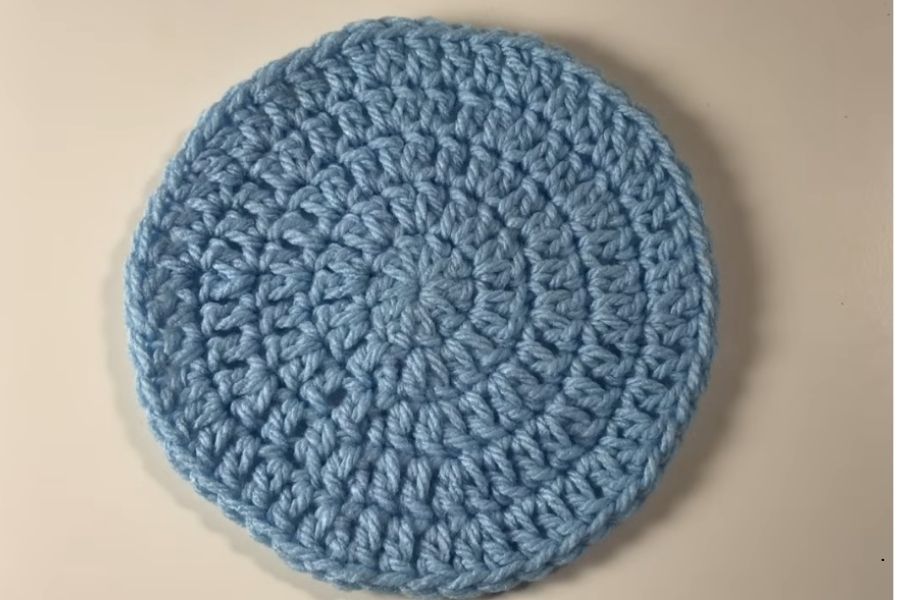
A crochet circle pattern is a basic design concept that teaches you how to work in rounds rather than straight rows. Instead of moving back and forth, you start from a tiny center loop and continuously crochet outward, building a flat disc that grows larger with every round.
The secret to a great circle pattern lies in a simple math rule called increases. To keep the circle laying flat as it grows, you must add a specific number of extra stitches to each new round. If you do not add enough stitches, your circle will curl up into a bowl shape. If you add too many, the edges will become wavy and ruffled.
Please keep in mind that this article only provides general information to help you understand the basics. The below video contains all the steps you need to follow along and crochet a perfect circle from start to finish.
Common Uses for Crochet Circles
Once you master the basic circle, you can use it to create many different items:
- Home Decor: Small circles make wonderful coasters for your drinks, while medium circles can be used as colorful dishcloths or potholders.
- Hats and Beanies: Almost every top-down crochet hat starts out as a simple flat circle before changing shape to fit your head.
- Amigurumi: Stuffed toys, like balls, animal heads, and tiny limbs, all begin their journey as basic crochet circles.
Tips and Advice for a Perfectly Flat Circle
Making a circle look neat and completely flat can take a little practice. Here are some simple tips and tricks to help you get the best results:
Stagger Your Increases: If you place your extra stitches in the exact same spot on every single round, your circle will slowly start to look like a hexagon with sharp corners. To keep it perfectly round, shift the placement of your increases slightly with each new row.
- Use a Stitch Marker: When working in a circle, it is very easy to lose track of where a new row begins. Always place a stitch marker in the first stitch of the round so you know exactly when to count your progress.
- Do Not Pull Too Tight: If your stitches are too tight, the center of your circle might pop up. Try to keep a relaxed, even grip on your yarn to ensure the fabric stays smooth.