Make a Beautiful Stocking With This Free Crochet Pattern
Video Tutorial Included
Holiday crafting is a wonderful way to personalize your home decor, and a handmade stocking is a timeless addition to any mantle piece. If you want a quick, classic project that does not require tricky, advanced maneuvers, this free crochet stocking pattern is exactly what you need.
The beauty of this design is that it is worked seamlessly from the toe up in one piece. It features a classic style that looks beautifully neat and professional. Designed with beginners in mind, it provides the perfect baseline for anyone wanting to learn the basics of stocking construction without feeling overwhelmed.
Simple Color Changes and Textures
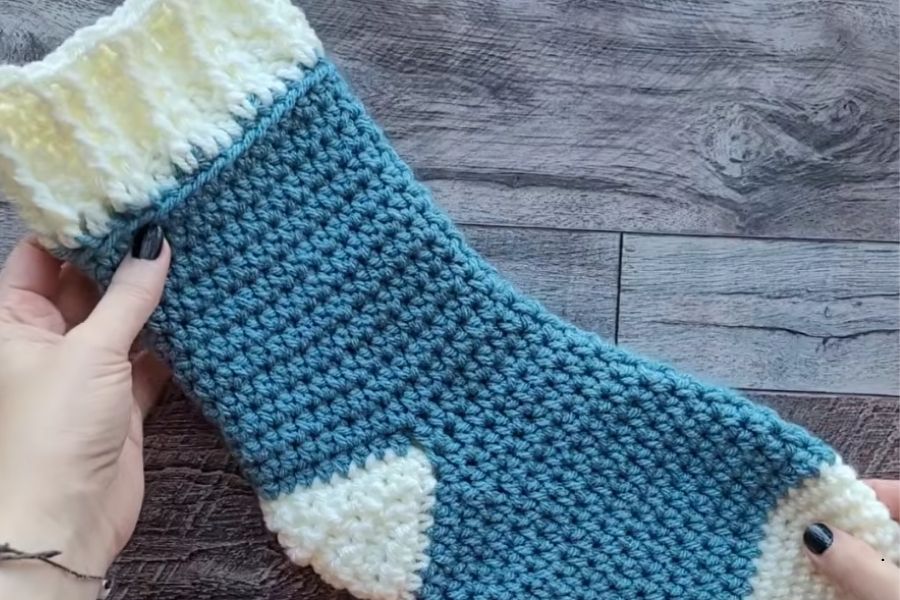
This pattern is highly customizable. You can make the stocking in a solid color, add festive stripes throughout, or opt for a traditional style by using two contrasting yarn shades. When using two colors, one shade is reserved for the toe, heel, and top cuff, while the other serves as the main leg of the stocking.
The shape is started seamlessly using a magic circle and standard increases to build out the toe. After completing the toe, the main body of the stocking transitions into smooth, rapid rounds of half double crochet. Once you reach the top of the stocking, you can customize the finish with either a simple, traditional fold-down cuff or a textured, ribbed cuff using front post double crochets.
Choosing Your Yarn and Hook Size
You can easily adjust the ultimate size of your finished stocking simply by swapping your yarn weight. Thick, chunky yarns (such as size four or size five) paired with a six-millimeter crochet hook are highly recommended for this project. Using a bulkier yarn ensures that the stocking works up very quickly, has great structure, and holds its shape beautifully when hung up.
Keeping the Seam Straight
When working crochet projects in continuous or joined rounds, the line where you slip stitch can sometimes drift to the side. This pattern prevents that by strategically skipping a specific number of stitches before starting the heel section. This clever placement shifts the turning points so that all the slip stitch joins stay perfectly aligned along a single edge. This creates a distinct “back side” to the stocking, keeping the front face looking perfectly clean and seamless.
Helpful Video Tutorial
The video below contains all the row-by-row stitch patterns, direct visual demonstrations, and beginner-friendly instructions you need to complete your stocking from start to finish.