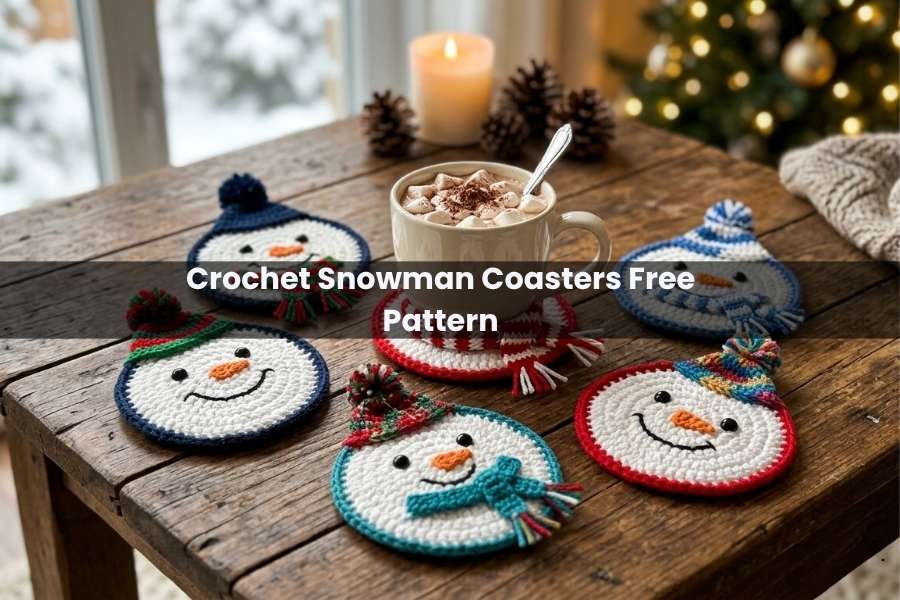
Adorable Crochet Snowman Coasters Free Pattern for Holidays
Add a touch of winter magic to your coffee table with these charming handmade snowman coasters. Using durable braided cord, this project creates a sturdy and absorbent surface for your favorite holiday mugs. Whether you are gifting them or decorating your own home, these festive snowmen are as functional as they are festive.
Materials Needed for the Project
To create a high-quality, sturdy coaster, ensure you have the following supplies ready:
- Cord: 3 mm braided cord in a natural or white color.
- Hook: 6.0 mm crochet hook.
- Accessories: A small length of wine-colored cord for the bow.
- Tools: Darning needle and sharp scissors.
Crocheting the Snowman Head
The project begins with the smaller circle which serves as the snowman’s head.
- Foundation: Create a magic circle.
- Round 1: Work 6 single crochets (SC) into the circle. Pull the tail tight and close with a slip stitch (sl st) into the first SC. Chain 1.
- Round 2: Work 2 SC in each stitch around (12 SC total). Tighten the center if it has loosened. Close with a sl st and chain 1.
- Round 3: 2 SC in the first stitch, 1 SC in the next. Repeat this pattern around (18 SC total).
- Finishing: Cut the cord and use a darning needle to create a “fake stitch” for a seamless edge. Weave in all loose ends on the back.
Creating the Snowman Body
The body is a larger circle worked similarly to the head but with additional rounds for extra width.
- Rounds 1–3: Repeat the same steps used for the head (ending with 18 SC).
- Round 4: Work 1 SC in the first two stitches, then an increase (2 SC) in the third. Repeat 1, 1, 2 around. Close with a sl st and chain 1.
- Round 5: Start with an increase, then work 1 SC in the next three stitches. Repeat 2, 1, 1, 1 around.
- Note: Stop when there are two stitches remaining in the final round. Do not finish the circle completely. Pull a long tail (at least 12 inches) for sewing.
Assembly and Decorative Touches
Once the two pieces are ready, they must be joined to bring the snowman to life.
- Joining: Thread the long tail from the body onto your darning needle. Align the head in the gap left at the end of the body’s final round. Sew through the stitches of both pieces, working back and forth to ensure a secure connection.
- Securing: Create a small knot on the back and weave the remaining tail through the stitches of the body.
- The Bow: Take a piece of wine-colored cord (approx. 12 inches) and thread it under a stitch at the “neck” where the head and body meet. Tie a simple bow and trim the ends to your preferred length.
Working with Braided Cord
Braided cord is significantly thicker and more rigid than traditional yarn. While this provides excellent structure for a coaster, it requires more hand strength to maintain tight stitches. If you find the cord “grippy,” try using a hook with an ergonomic handle to reduce strain during the repetitive circular rounds.
Ensuring a Flat Surface
To prevent your coaster from “cupping” or waving, it is important to follow the increase pattern strictly. Alternating where you place your increases in each round—as described in the guide—prevents the circle from becoming a hexagon and helps it stay perfectly flat, which is essential for stabilizing a mug.
Long-Term Maintenance
Since these coasters are made from braided cord, they are quite durable. If they become soiled by coffee or tea stains, they can usually be spot-cleaned with a damp cloth and mild detergent. Avoid high heat when drying to maintain the integrity of the braided fibers and the decorative bow.
Step-by-Step Video Guide
The below video contains all the steps you need to visualize the stitch placement and the assembly process.