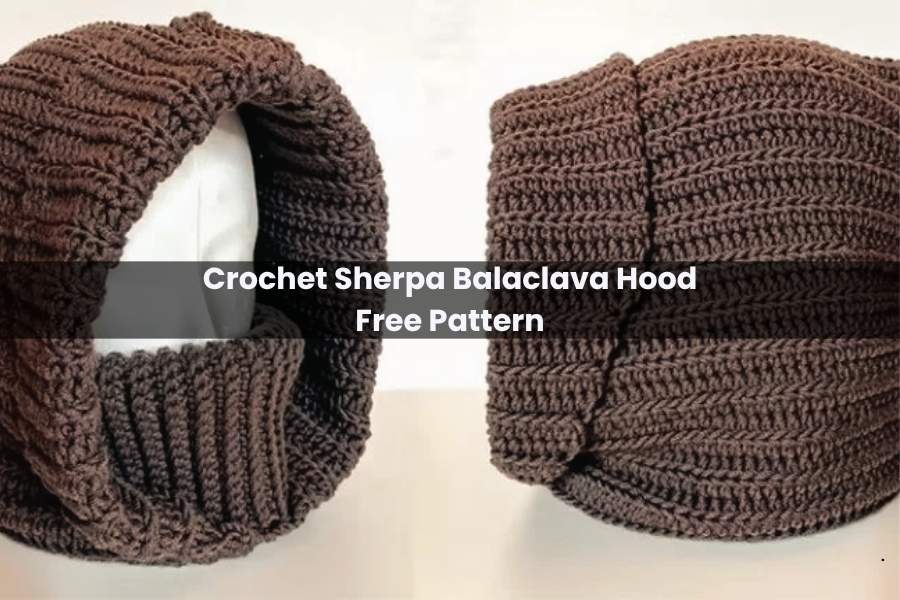
Crochet Sherpa Balaclava Hood Free Pattern
Stay warm and cozy this winter with a project that feels like a giant hug for your head! There’s nothing quite like the soft, fuzzy texture of sherpa, and this Crochet Sherpa Balaclava Hood is the ultimate cold-weather accessory.
Whether you’re hitting the slopes or just bracing for a windy walk, this pattern is quick, beginner-friendly, and incredibly stylish.
What You’ll Need
I’ve found that using the right tools makes working with fuzzy yarn much easier. Here is my go-to list:
- The Yarn: Lion Brand Go for Fleece. It’s incredibly plush. You’ll need about 89 yards for a Child size or 105 yards for an Adult size.
- The Hook: An 8.0mm crochet hook. I personally love the Clover Amour hooks because they glide through fleece yarn without snagging.
- The Extras: Grab your favorite pair of travel scissors and a sturdy yarn needle to weave in those ends.
Sizing Guide
- Adult: Approx. 9-10″ wide (flat) and 12-13″ tall.
- Child: Approx. 7-8″ wide (flat) and 10-11″ tall.
Pattern Essentials
Before we dive in, here are a few notes to keep you on track:
- Gauge: After Round 4, your circle should be 3 inches in diameter.
- Joining: We’ll join each round with a slip stitch (sl st) to the first stitch.
- Turning: The chain stitches at the start of each round do not count as a stitch.
- Terms: This pattern uses standard U.S. abbreviations (ch, st, sl st, BLO, SC, HDC, and FPHDC).
Let’s Get Stitching!
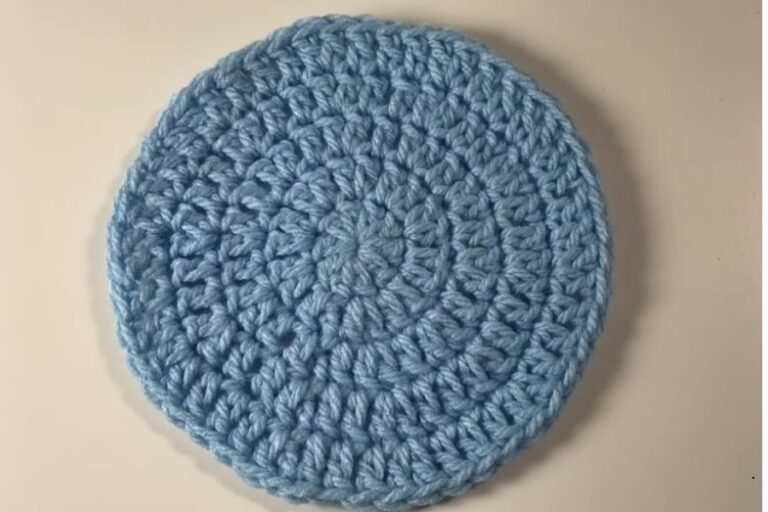
Phase 1: The Crown
We’ll start at the very top, working in the round to create the crown of the hood.
- Round 1: Start with a magic circle. Ch 2, then work 8 HDC into the circle. Pull tight to close and sl st to join. [8 sts]
- Pro Tip: If magic circles frustrate you, just ch 4, join into a ring, and work your stitches into that center hole instead!
- Round 2: Ch 2. Work 2 HDC in every stitch around. Sl st to join. [16 sts]
- Round 3: Ch 2. (HDC in next st, 2 HDC in following st) repeat around. Sl st to join. [24 sts]
- Round 4: Ch 2. (HDC in next 2 sts, 2 HDC in following st) repeat around. Sl st to join. [32 sts]
- Round 5: Ch 2. (HDC in next 3 sts, 2 HDC in following st) repeat around. Sl st to join. [40 sts]
Check your gauge here! Your circle should be 3″ wide. If you need a larger fit, keep increasing by 8 stitches per round (e.g., HDC in next 4 sts, then 2 HDC in the next).
Phase 2: The Body
Now we’re going to add the length that frames your face.
- Rounds 6-15: Ch 2. Work 1 HDC in each stitch around (no more increasing!). Sl st to join.
- Personal Note: This is where you can customize! Try it on as you go. For kids, you might stop a few rounds early; for a slouchier adult look, add a few more.
Phase 3: Face Opening Ribbing
This part adds structure and a nice “finished” look to the face opening.
- Round 16: Switch to BLO (back loop only). Ch 1, SC in each st around. Sl st to join.
- Round 17: Ch 1. (FPHDC in the next st, SC in the next st) repeat around. Sl st to join.
- Style Tip: I like to repeat Round 17 for one or two more rows to get a really defined, cozy ribbing.
Phase 4: Neck Ribbing
Finally, let’s make sure the wind can’t get in!
- Rounds 18-22: Ch 1. (FPHDC in the next st, SC in the next st) repeat around. Sl st to join.
- Keep going until the neck is as long as you like. If you want to tuck it deep into your winter coat, go for a few extra rounds!
The Finish Line
- Fasten Off: Cut your yarn and pull it through.
- Weave in Ends: Use your yarn needle to hide those tails. Make sure to secure the crown tightly so it doesn’t gap.
- Final Shaping: Give it a little tug and stretch to get the shape perfect. Because this yarn is so fluffy, it usually doesn’t need heavy blocking—just a little steam if you want it extra crisp.
And you’re done! Enjoy your new, ultra-plush sherpa balaclava. It’s so soft you might never want to take it off!