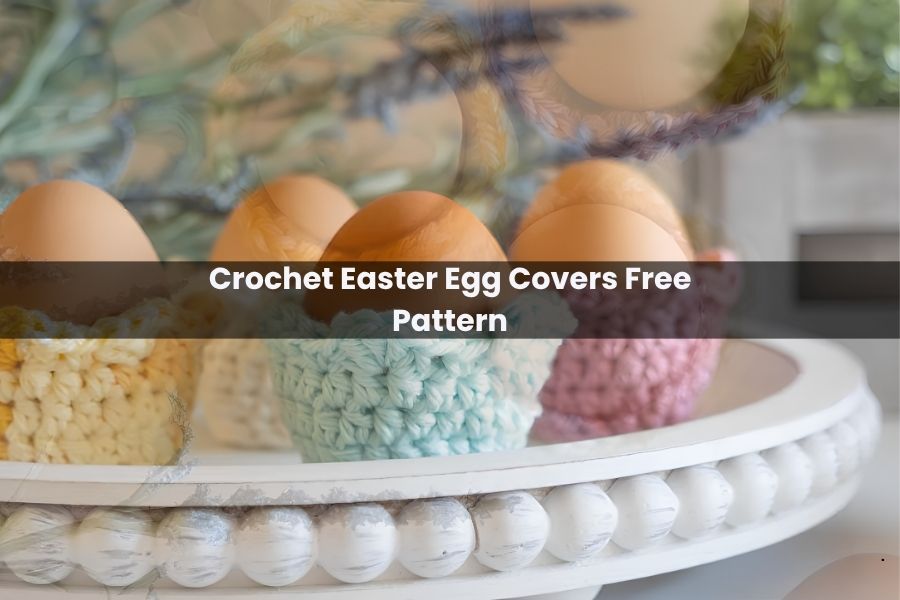
Crochet Easter Egg Covers Free Pattern
Easter is often a whirlwind of brunch prep and candy-filled baskets, but I’ve always felt that the most memorable decorations are the ones that take just a few minutes of quiet time to create. If you are looking for a last-minute project that feels special, these crochet egg covers are my absolute favorite.
They work up in less than 30 minutes, use almost no yarn, and add a soft, vintage charm to any table setting. Whether you’re a beginner or a seasoned pro, you’ll find yourself wanting to make an entire rainbow of these for your Easter basket.
Materials & Essentials
- Yarn: About 10 yards of scrap yarn per cover. I personally love using cotton yarn for this; it gives the covers a crisp structure that helps them stand up on their own.
- Hook: 4.0 mm (G) crochet hook.
- Tools: Tapestry needle for weaving in ends and scissors.
The Pattern
Round 1: The Foundation
Start with a Magic Ring. Work 8 Half Double Crochets (HDC) into the ring. Pull the tail to close the ring tight. Join with a slip stitch to your first HDC.
Note: If the Magic Ring feels a bit fiddly, don’t worry—it gets easier with practice! It’s the best way to ensure there isn’t a hole at the bottom of your egg cover.
Round 2: The Base Increase
- Chain 1.
- Work 2 HDC into the same stitch as your chain and into every stitch around. (The chain 1 does not count as a stitch here or throughout the pattern).
- Join with a slip stitch to the first HDC. (16 stitches)
Round 3: Building the “Walls”
To help the cover sit flat on the table, we are going to create a defined edge using Back Post Half Double Crochets (BPHDC).
- Chain 1.
- Work 1 BPHDC around every stitch from the previous row.
- Join with a slip stitch. (16 stitches)
Tip: This row creates a beautiful “lip” around the base, giving the cover a sturdy, professional-looking foundation.
Round 4: Expanding the Shape
- Chain 1.
- HDC in the first stitch.
- Work 2 HDC in the next stitch.
- Repeat pattern: [1 HDC, 2 HDC] all the way around.
- Join with a slip stitch. (24 stitches)
Rounds 5 & 6: The Body
These rounds give the cover its height.
- Chain 1.
- Work 1 HDC into every stitch around.
- Join with a slip stitch. (24 stitches per round)
Round 7: The Scalloped Shell Border
This is where the magic happens! We’re adding a delicate shell stitch to finish the top edge.
- Chain 1. Single Crochet (SC) in the first stitch.
- Skip one stitch.
- Work 5 HDC all into the next stitch (this creates your first shell).
- Skip one stitch.
- SC in the next stitch.
- Repeat this pattern [Skip 1, 5 HDC in next, Skip 1, SC in next] until you reach the end of the round.
- Join with a slip stitch to your very first SC.
Finishing Touches
Fasten off your yarn and use a tapestry needle to weave in your ends securely.
How to Style Them
These covers aren’t just for decoration—they are incredibly versatile:
- Place Settings: Slip one over a hard-boiled egg at each person’s plate for Easter brunch.
- The “Eco” Egg: If you’re trying to move away from plastic eggs, these look beautiful over wooden or ceramic eggs.
- Gifting: Put a chocolate egg inside, tie the shell border closed with a tiny piece of ribbon, and you have a perfect little party favor.
Happy hooking, and I hope these little covers bring a bit of handmade joy to your spring!