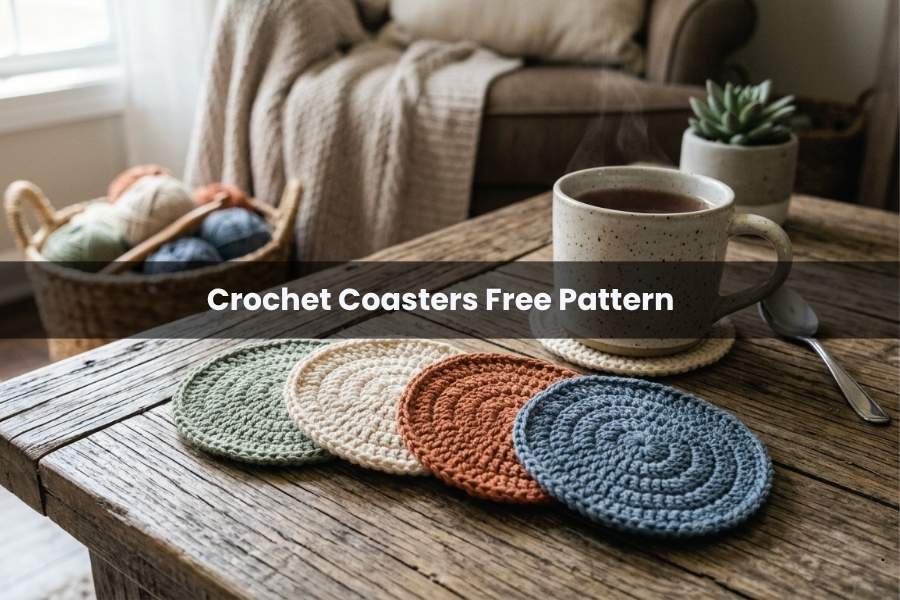
Stylish Crochet Coasters Free Pattern Guide
Crochet coasters are the perfect marriage of form and function, offering a stylish way to protect your surfaces while adding a handmade touch to your home decor. This beginner-friendly project uses foundational stitches to create a sophisticated, scalloped accessory that is as fun to make as it is to gift.
Materials and Essentials
To create these durable and absorbent coasters, you will need a few specific tools. Using high-quality cotton is recommended for its heat resistance and ability to hold its shape.
- Yarn: DK weight mercerized cotton yarn (e.g., Drops Muscat).
- Hook: 3 mm crochet hook (size 5).
- Notions: Scissors, a yarn needle for weaving ends, and two stitch markers.
Round 1: The Magic Circle Foundation
The coaster begins with a magic circle, a technique that creates a tightly closed center.
- Create the magic circle and chain two to gain the necessary height.
- Work 14 double crochets into the circle.
- Place a stitch marker in the first double crochet to help track your progress.
- Pull the tail end of the yarn firmly to close the center hole.
- Join the round with a slip stitch into the marked first stitch.
Rounds 2 through 4: Building the Circle
To keep the coaster flat as it grows, you must increase the number of stitches in each subsequent round.
- Round 2 (Increase Round): Chain two. Work two double crochets into every stitch from the previous round (28 stitches total). Join with a slip stitch.
- Round 3: Chain two. Follow a pattern of one increase (two double crochets in one stitch) followed by one double crochet. Repeat this sequence around (42 stitches total). Join with a slip stitch.
- Round 4: Chain two. Work a double crochet, then an increase, then a double crochet. This staggered pattern helps maintain a perfectly round shape. Join with a slip stitch.
Round 5: The Scalloped Edging
The final round adds the decorative “petal” look using a four-stitch repeat:
- Chain one and work a single crochet into the first stitch.
- In the next stitch, work three double crochets to create the peak of the scallop.
- Work a single crochet in the third stitch.
- Finish the repeat with a slip stitch in the fourth stitch.
- Repeat this pattern until you reach the end of the round.
Final Finishing and Blocking
To achieve a professional look, weave in your yarn tails using a yarn needle, following the natural path of the stitches to make the ends invisible. Because crochet fabric can sometimes curl, blocking is highly recommended. Using an iron on the appropriate setting for your yarn (usually the “two-dot” or cotton setting), lightly steam and press the coaster flat. This relaxes the fibers and ensures the scalloped edges sit perfectly even.
Choosing the Best Fiber for Coasters
When selecting yarn, 100% cotton is the gold standard for coasters. Unlike synthetic fibers, cotton will not melt if a hot mug is placed on it, and its natural absorbency helps catch condensation from cold drinks. Mercerized cotton is particularly good for this project as it has a subtle sheen and is less likely to pill or fray over time.
Managing Yarn Splitting
Cotton yarn is often composed of several distinct plies that can occasionally separate or “split” as you insert your hook. If you notice your hook catching only part of the yarn, it is best to pull the stitch out and restart it. This ensures the structural integrity of the coaster and keeps the finished surface looking smooth and professional.
Importance of Stitch Markers
For beginners, identifying the first and last stitches of a round can be challenging. Using stitch markers not only helps you count your 14 initial stitches but also prevents you from accidentally working into the slip stitch of the previous round, which could cause your coaster to ripple or grow unevenly.
The below video contains all the steps you need: