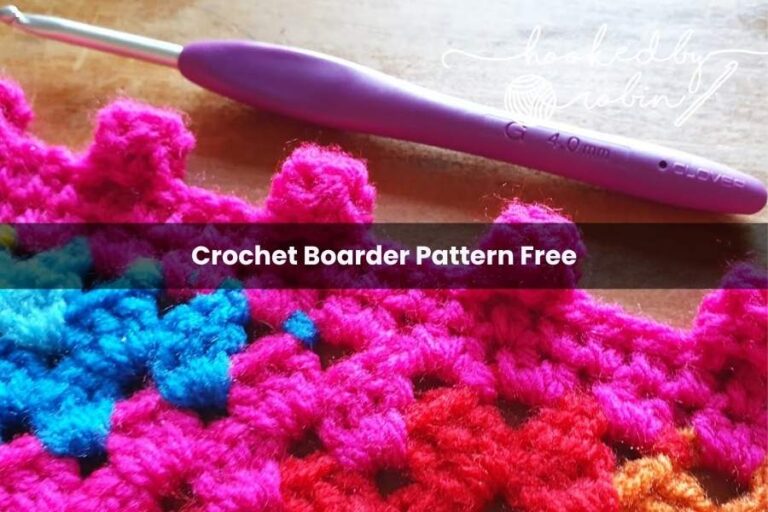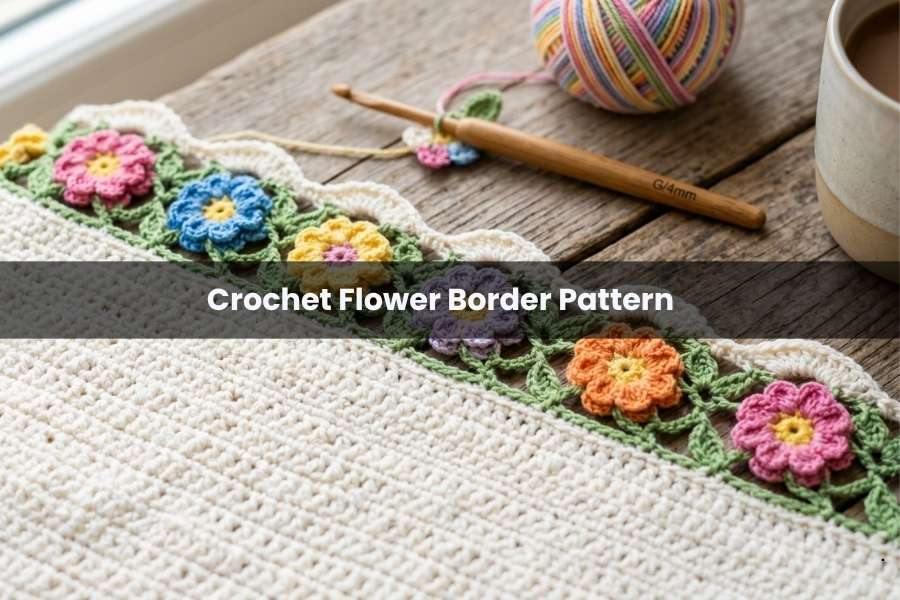
Pretty Crochet Flower Border Pattern for Any Project
Add a whimsical, textured finish to your blankets, scarves, or garments with this stunning 3D flower border. This pattern transforms a simple edge into a garden of raised petals, creating a professional and unique look. Perfect for intermediate beginners, this guide provides a step-by-step breakdown of this creative floral stitch.
Pattern Essentials
Before starting your border, ensure your foundation row or the edge of your project is ready. This pattern relies on a specific count to ensure the flowers are spaced evenly.
- Stitch Multiple: 5 + 4.
- Techniques Used: Chain (ch), Double Crochet (dc), and Slip Stitch (sl st).
- Special Construction: The “Flower Ring” is created by working two double crochets into a single stitch, forming a V-shape that serves as the base for the petals.
Step-by-Step Instructions
1. The Foundation Base
Begin by chaining three (which counts as your first double crochet). Work one double crochet into each of the next three stitches. You should now have a total of four double crochet stitches at the start of your row.
2. Creating the Flower Base
In the next stitch, work two double crochet stitches into the same space. This V-stitch acts as the center ring where you will anchor your 3D petals.
3. Crafting the 3D Petals
The flower consists of five petals worked around the posts of the V-stitch base:
- Petal 1: Chain 2, work one double crochet into the stitch ring, chain 2, and slip stitch.
- Petal 2: Repeat the process (Ch 2, dc, ch 2, sl st) into the same side of the ring.
- Rotation: Rotate your work to access the other side of the original V-stitch.
- Petals 3 & 4: Work two more petals (Ch 2, dc, ch 2, sl st) on the second side of the V-stitch.
- Petal 5: Return your work to the normal position. At the very top center of the flower, work the final petal.
- Securing: Chain 1 to lock the flower securely in place.
4. Spacing and Repetition
After completing a flower, work one double crochet into each of the next four stitches. In the fifth stitch, create the two-double crochet V-stitch base and repeat the flower process. Continue this sequence across your entire row.
Tips for Blankets and Corners
If you are applying this border to a square or rectangular project like a blanket, consistency is key. To navigate corners smoothly:
- Place the two-double crochet V-stitch directly into the corner stitch.
- Construct a flower in each of the four corners to maintain the 3D effect throughout the turn.
- Proceed with the “4 double crochet” spacing across each straight side.
Visual Learning
Because this pattern requires rotating your work and crocheting around stitch posts to achieve the 3D effect, visual cues are highly beneficial.
Note: The below video contains all the steps you need to master the rotation and placement of the petals.