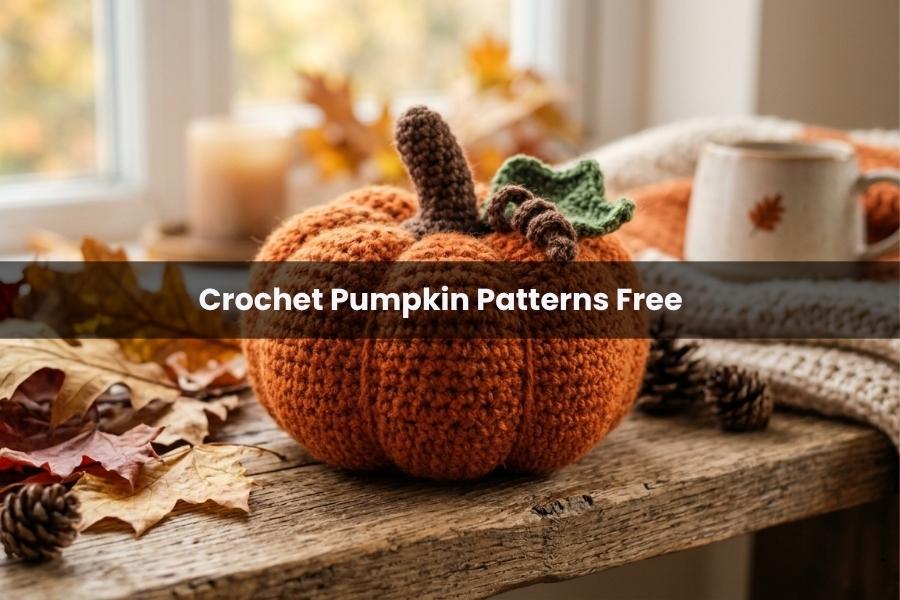
Adorable Crochet Pumpkin Patterns Free for Fall Decor
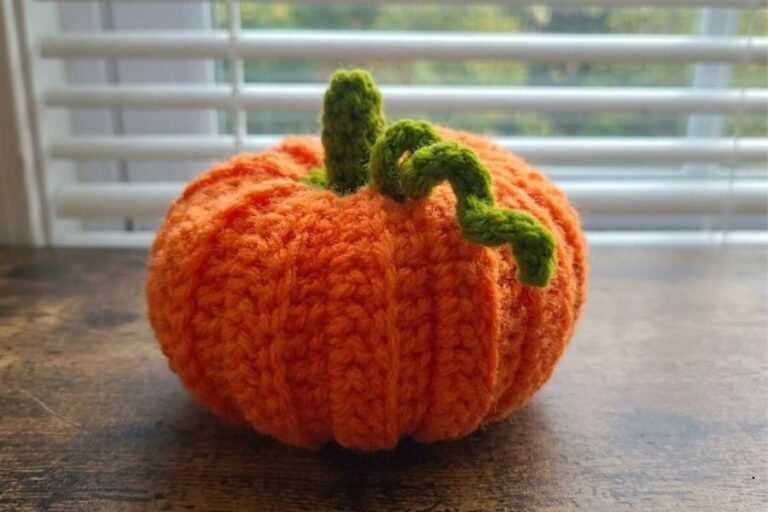
Add a touch of handmade warmth to your seasonal home styling with these adorable crochet pumpkins. Perfect for beginners and seasoned crafters alike, this quick and easy pattern creates a charming, ribbed texture that captures the essence of autumn. These pumpkins are ideal for centerpieces, mantels, or festive gifts.
Materials and Preparations
Before starting, gather your supplies. You will need orange yarn for the body and green yarn for the stem and vine. A crochet hook (size details available in the video), a yarn needle, scissors, and fiberfill stuffing are essential. The project begins with a slip knot and a foundation chain of 21 stitches to establish the height of your pumpkin.
Crafting the Pumpkin Body
The body is worked in rows to create a specific shape that tapers at the ends and widens in the middle. The stitch sequence involves a combination of single crochets, half double crochets, and double crochets. Starting from the second row, you will work exclusively in the back loops to create a decorative ribbed effect. You will repeat this pattern for a total of 25 rows until the piece is slightly curved and ready for assembly.
Assembly and Stuffing
To transform your flat crochet piece into a sphere, use a yarn needle to stitch the first and last rows together using the front loops. This creates a seamless join. Close the bottom of the pumpkin by weaving the yarn in a zigzag motion through the top stitches and pulling it tight. After stuffing the body firmly with filling, repeat the cinching process at the top to secure the shape.
Creating the Stem and Vine
The stem is worked in a spiral using a magic ring and single crochets, typically spanning seven rounds. For a unique touch, a curly vine is added by chaining 15 and placing two single crochets in each chain, causing it to naturally spiral. Finally, the base of the stem is widened with increases and stitched onto the top of the pumpkin body to complete the look.
Choosing the Right Fiber
While acrylic yarn is popular for its affordability and wide range of autumnal colors, cotton yarn can provide excellent stitch definition for the ribbed “ridges” of the pumpkin. Using a slightly smaller hook than recommended on the yarn label can help ensure the stuffing doesn’t peek through the stitches.
Customizing Sizes and Shapes
You can easily modify the scale of your decor by changing the initial chain length or the number of rows. A shorter foundation chain creates a squat, flat pumpkin, while adding more rows increases the circumference. Experimenting with variegated yarns can also add a “multi-tonal” look mimicking real heirloom gourds.
Decorative Accents
Beyond the standard stem, consider adding felt leaves or tying a twine bow around the base of the vine for a rustic aesthetic. These pumpkins also make great scented decor if you tuck a cinnamon stick into the center or mix dried lavender with your fiberfill stuffing.
Full Step-by-Step Video Tutorial
The below video contains all the steps you need to complete this project, including visual demonstrations of the stitch placements and assembly techniques.