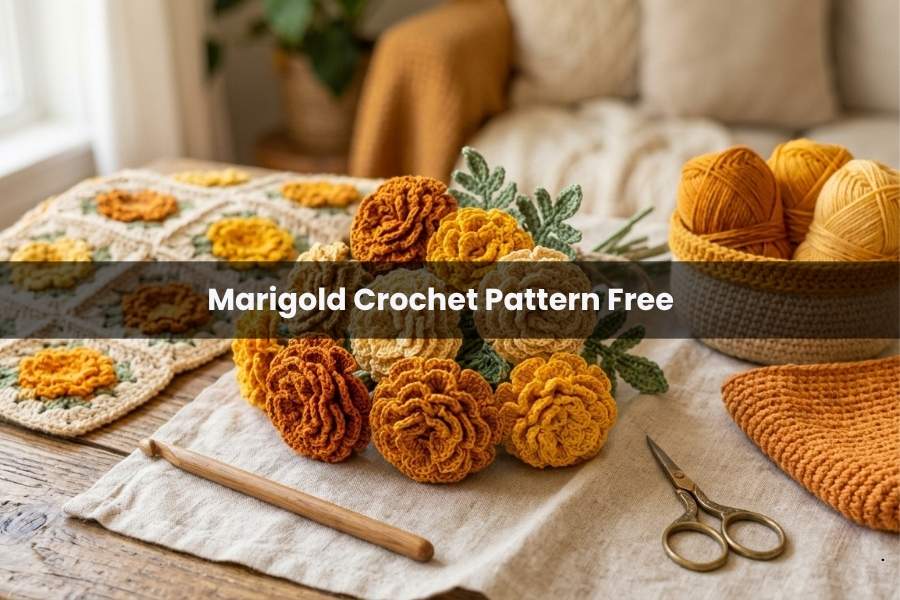
Beautiful Marigold Crochet Pattern Free for Home Decor
Brighten your living space with the everlasting charm of a handmade marigold. This crochet pattern offers a delightful way to bring nature indoors using simple stitches and vibrant yarn. Perfect for bouquets, wreaths, or festive garlands, these textured blooms add a cheerful, handcrafted touch to any corner of your home.
Materials Needed for Your Project
To achieve the best results for this specific floral design, ensure you have the following supplies ready:
- Yarn: 4-Ply 100% Acrylic Yarn (Thickness: 1mm).
- Colors: Vibrant yellow or orange for the petals; green for the sepal.
- Hook Size: 1.5 mm crochet hook.
- Extras: Stuffing fiberfill, a yarn needle, and a hot glue gun.
Creating the Flower Core (Yellow or Orange)
The foundation of the marigold is a spherical core worked in the Back Loop Only (BLO) to create the ridges necessary for attaching petals later.
- Foundation: Start with a Magic Ring, Chain 1.
- Round 1: 7 SC into the ring. Slip stitch (sl st) to the first SC to close.
- Round 2: Ch 1, BLO, (2 SC in each stitch) x 7 = 14 SC. Sl st to close.
- Round 3: Ch 1, BLO, (1 SC, 2 SC in next stitch) x 7 = 21 SC. Sl st to close.
- Round 4: Ch 1, BLO, (1 SC in next 2 stitches, 2 SC in next stitch) x 7 = 28 SC. Sl st to close.
- Rounds 5–7: Ch 1, BLO, SC in every stitch around (28 SC). Sl st at the end of each round.
- Round 8 (Decreasing): Ch 1, BLO, (1 SC in next 2 stitches, SC decrease) x 7 = 21 SC. Sl st to close.
- Round 9: Ch 1, BLO, (1 SC, SC decrease) x 7 = 14 SC. Sl st to close.
- Round 10: Ch 1, BLO, (SC decrease) x 7 = 7 SC. Sl st to close.
Finishing the Core: Pull up a long yarn tail and cut. Stuff the ball firmly with fiberfill and sew the remaining hole shut using your needle.
Adding the Ruffled Petals
This stage transforms the sphere into a lush, ruffled marigold by working into the ridges created by the back-loop stitches.
- Attachment: Attach your yarn at the second round from the bottom.
- Petal Pattern: Ch 1, [Sl st, Ch 8, Sl st] all in the same space.
- Repetition: Move to the next space and repeat the [Sl st, Ch 8, Sl st] pattern throughout the entire ball.
- The Top: For the final 7 stitches at the very top, adjust the height by working [Sl st, Ch 6, Sl st] in each space.
- Finish: Cut the yarn and hide the tail inside the center of the flower.
Crafting the Green Sepal
The sepal provides the base of the flower and a realistic finish.
- Round 1: Magic Ring, Ch 1, 6 SC. Sl st to close.
- Round 2: Ch 1, 6 SC. Sl st to close.
- Round 3: Ch 1, (1 SC, 2 SC in next) x 3 = 9 SC. Sl st to close.
- Round 4: Ch 1, 9 SC. Sl st to close.
- Round 5: Ch 1, (1 SC in next 2, 2 SC in next) x 3 = 12 SC. Sl st to close.
- Round 6: Ch 1, 1 SC, 2 SC in next, (3 SC, 2 SC in next) x 2, 2 SC = 15 SC. Sl st to close.
- Round 7: Ch 1, 15 SC. Sl st to close, Ch 1, and cut yarn.
Final Assembly
Once your sepal is complete, lightly fill it with fiberfill. Apply a small amount of hot glue to the bottom of your orange flower core and press the sepal firmly into place. Your marigold is now ready for display!
Choosing the Right Acrylic Yarn
When working with fine 1mm yarn, 100% acrylic is often preferred for home decor because it holds its shape well and offers a slight sheen that mimics real flower petals. It is also durable and less likely to fade if placed near a sunny window.
Managing Tension with Small Hooks
Using a 1.5mm hook requires a steady, light tension. If you find your stitches are too tight to work into the back loops, try to relax your grip. Consistent tension is key to ensuring the “ball” core remains spherical and doesn’t warp before the petals are added.
Maintaining Your Crochet Flowers
Unlike real blooms, these marigolds only need occasional dusting. To keep them looking fresh, you can use a hairdryer on a “cool” setting to gently blow away any dust particles. If they lose their shape over time, a quick squeeze will help the fiberfill redistribute.
Step-by-Step Video Guide
The below video contains all the steps you need to complete this project, including visual demonstrations of the petal placement and assembly.