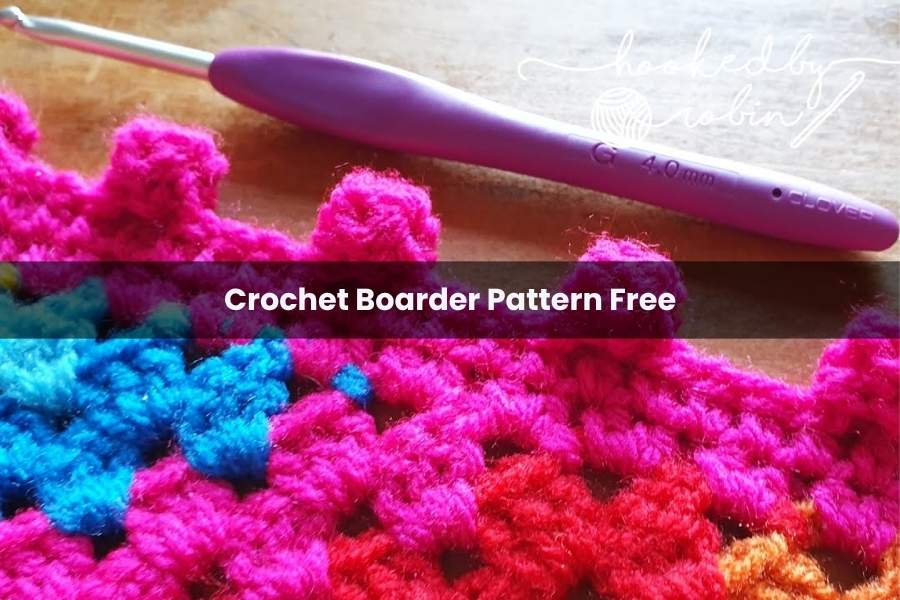
Crochet Boarder Pattern Free
There is something incredibly satisfying about reaching the edge of a long-term crochet project. Whether it’s a baby blanket that took weeks or a simple coaster that took an afternoon, that final edge is where the magic really happens.
If you are looking for a way to add a bit of personality, texture, and a “funky” flair to your work, let me introduce you to my absolute favorite: The Bobble Stitch Border.
What I love most about this pattern is its versatility. It isn’t fussy. You don’t need to spend hours counting stitches or doing complex math to make the corners work. It’s tactile, squishy, and adds a professional yet handmade charm to literally any project.
Why You’ll Love This Border
- Highly Adaptable: You decide the spacing. Want a dense row of bubbles? Space them close. Want a delicate accent? Space them far apart.
- Corner-Friendly: No special “corner formulas” required.
- Beginner-Friendly: If you can double crochet, you can bobble!
Step-by-Step Instructions
Before you begin, ensure your yarn is attached to your project. You can start in any stitch, though I usually prefer starting near a corner to get the rhythm down.
1. The Foundation
To create your first bobble, chain three. These chains act as the “scaffolding” for your stitch.
2. Creating the “Double Crochet Five Together” (dc5tog)
Don’t let the technical name intimidate you. We are essentially making five “half-finished” double crochets all into the same spot.
- Yarn over and insert your hook into the very first chain you made.
- Yarn over and draw up a loop (3 loops on hook).
- Yarn over and pull through the first two loops only. Stop here. You now have one half-finished double crochet on your hook.
- Repeat this four more times in that same first chain: Yarn over, insert hook, draw up a loop, yarn over, pull through two.
3. Closing the Bobble
Once you have completed those steps, you should see five half-finished stitches hanging out together and a total of six loops on your hook.
- Yarn over one last time and draw the yarn through all six loops.
- The Secret Poke: Use your thumb to physically push the bobble toward the back (away from you). This pops the texture out so it looks nice and plump on the right side of your work.
4. Anchoring and Spacing
To secure your bobble, slip stitch into the very next stitch of your project edge.
Now, you get to choose your spacing. In my examples, I like to have about five slip stitches between bobbles. Since I already did one to anchor the bobble, I would do four more slip stitches in the following stitches before starting the next “Chain 3” for the next bobble.
Navigating the Corners
One of the best things about this border is that it’s “fudge-able.” If you are approaching a corner and your stitch count doesn’t perfectly match your spacing (for example, if you have three stitches left instead of five), don’t panic.
Simply slip stitch until you reach the corner space, and work a bobble directly into that corner. Because the bobbles are so textured and playful, the human eye won’t notice a slight variation in spacing. The goal is a smooth flow, not mathematical perfection!
Finishing Touches
Continue your bobbles and slip stitches all the way around the perimeter. Once you reach your starting point:
- Work your final slip stitch to secure the last bobble.
- Chain one to lock it in.
- Snip your yarn, leaving a generous tail.
- Weave in your ends securely.
Pro Tip: This border looks fantastic in a contrasting color! If you’ve made a solid white blanket, try a bright teal or a soft grey bobble border to really make the texture “pop.”
This stitch is a joy to work up because it grows quickly and provides instant gratification. I hope you enjoy adding these funky little clouds of yarn to your next masterpiece!