Adorable Crochet Chicken Pattern Free
Video Tutorial Included
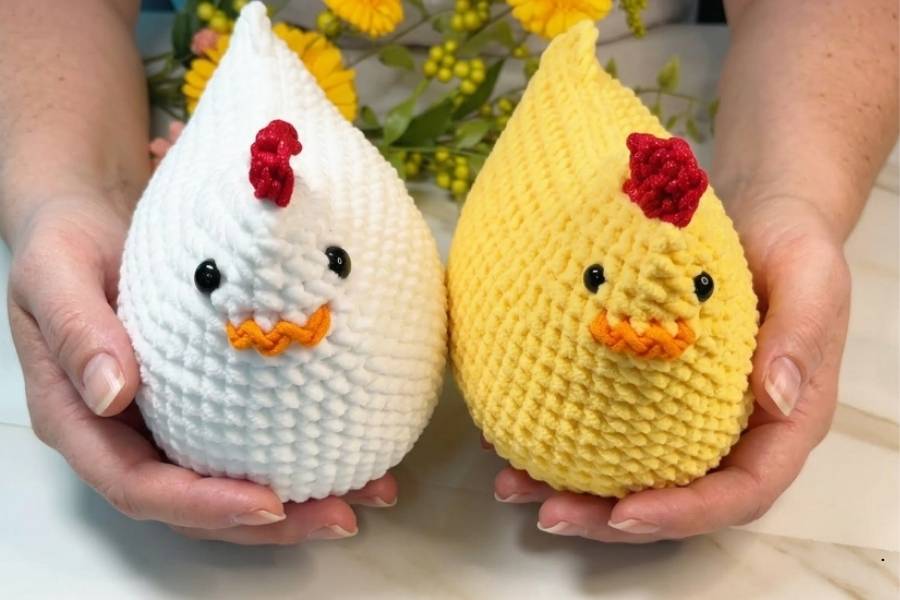
If you are looking for a fun, cuddly project to sink your hooks into, this amigurumi chicken is the perfect choice.
This delightful little bird is incredibly charming and makes for a wonderful gift or a cozy piece of handmade home decor. It works up into a wonderfully plump shape that crafters of all levels will absolutely love to create.
Shaping the Soft and Round Body
The magic of this design lies in how it uses simple shaping techniques to create a classic, rounded bird figure. The body is worked from the top down, starting with a basic ring that is securely pulled tight to close any gaps. From there, the pattern utilizes a systematic series of rounds filled with clean single crochets and steady increases. This allows the piece to expand smoothly into a wide, spherical shape.
To achieve an extra cuddly, plush look, the body is crafted using a chunky, bulky number five polyester yarn paired with a large 7 mm crochet hook. After reaching its widest point, the pattern introduces clever invisible decreases. These decreases gently taper the fabric back inward, forming the distinct contours of a plump little chicken.
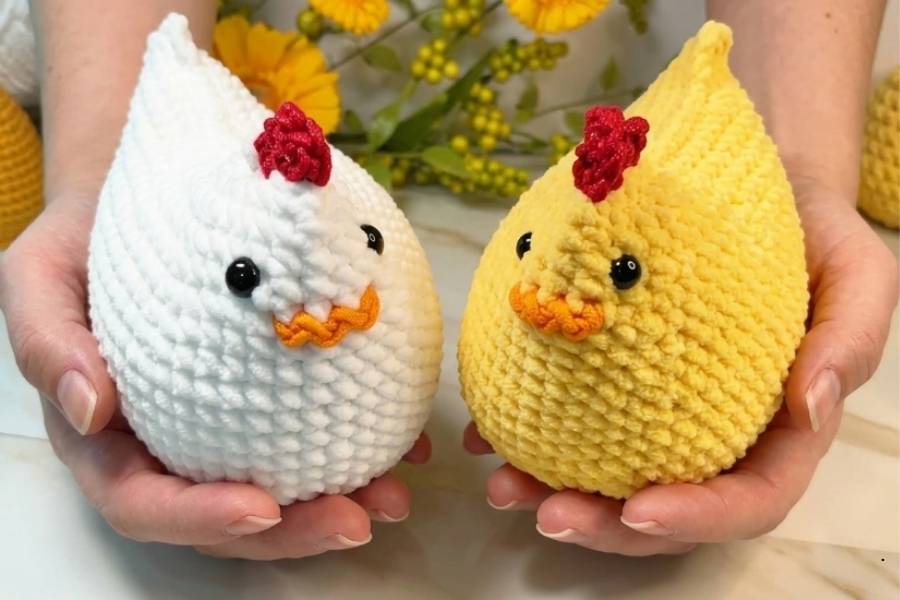
Once the main shape is formed, safety eyes are popped into place, and a cute contrast beak is stitched right onto the front using a vibrant orange yarn. The body is then packed with soft fiberfill stuffing before closing the edges completely. More stuffing yields a firmer, rounder bird, while less stuffing gives it a soft, squishy personality.
Creating the Tail and Comb Highlights
What truly brings this little chicken to life are the fun, built-in features worked directly into the final closing seam. Instead of crocheting separate pieces and sewing them on at the very end, the top edges of the body are pressed flat and crocheted together.
Using the white yarn along the back loops, a small, cute tail section is formed with a few quick single crochets and chain spaces. As the seam moves along towards the front of the head, a vibrant red yarn is introduced. By working multiple double crochets directly into the remaining stitches, the fabric naturally ruffles up to form a beautiful, wavy red comb right on top of the chicken’s head. The remaining yarn tails are then neatly tucked away inside the body stuffing for a seamless finish.
Stuffing and Yarn Choice Advice
- The Impact of Yarn Weight: Using a thick, bulky chenille or blanket yarn gives the chicken a large, trendy plushie look. If you switch to a thinner worsted weight yarn, the chicken will turn out much smaller and more compact.
- Control the Firmness: Pay close attention to how much stuffing you pack inside before sealing the final seam. Stuffing firmly helps the chicken hold its round shape perfectly over time and prevents wrinkling.
- Keeping Stitches Tight: When working with chunky yarn, try to keep your tension relatively snug. This keeps the stitches tight and ensures that the white fiberfill stuffing won’t leak through the gaps later on.
Full Video Tutorial
For a complete visual walkthrough of this project, the below video contains all the steps you need to successfully crochet, stuff, and finish this adorable amigurumi chicken.