Cute Crochet Cat Pattern for Every Cat Lover
Video Tutorial Included
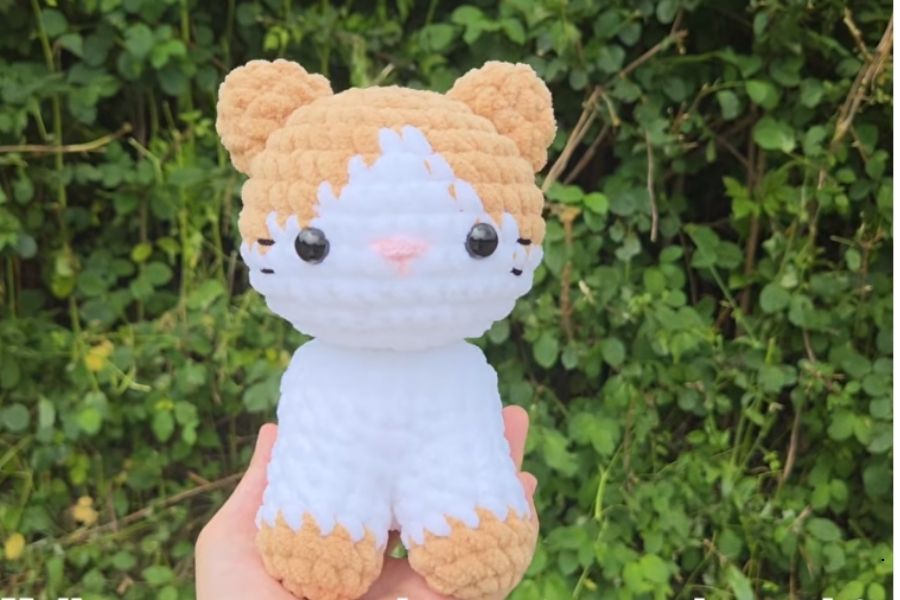
Crocheting your own little toy cat is a wonderful and relaxing project. Whether you want to make a cute gift for a friend or a fun new buddy for your desk, a crochet cat pattern is the perfect place to start.
What is a Crochet Cat Pattern?
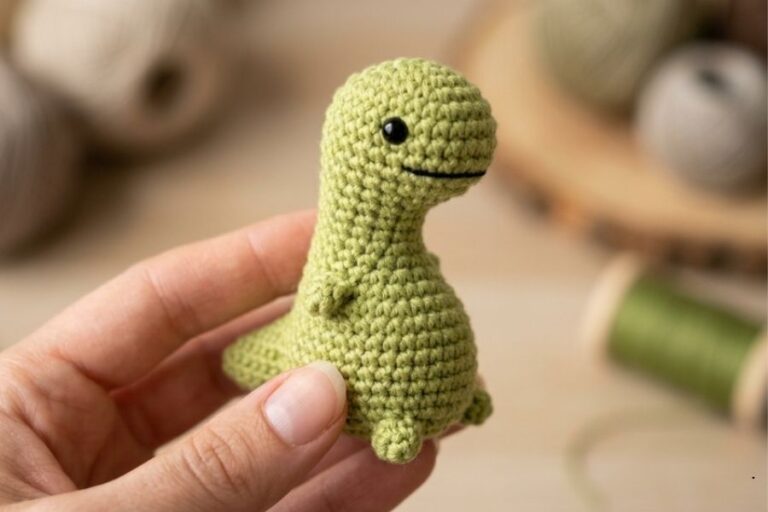
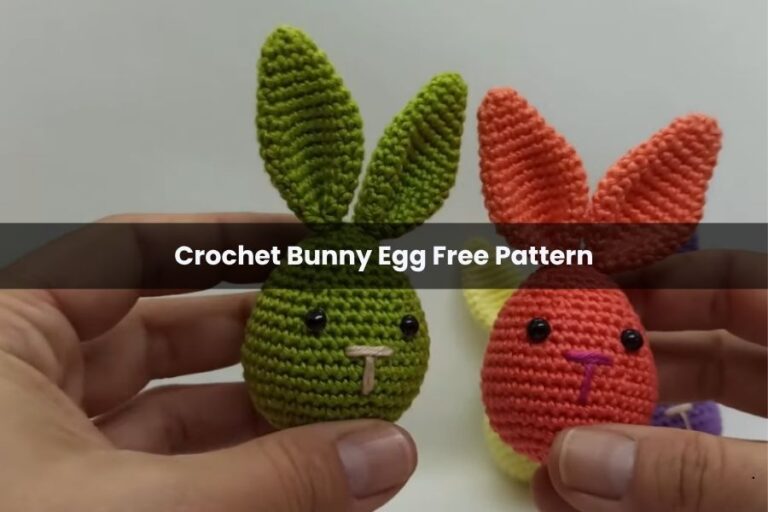
A crochet pattern is like a recipe for yarn. It tells you exactly what stitches to make to build your toy. Most crochet cats are made using a style called amigurumi. This is just a fun Japanese word for knitted or crocheted stuffed toys.
When you look at a cat pattern, you will usually make different parts separately. You will crochet the head, the body, the paws, the ears, and the tail. After all the pieces are finished, you stuff them with soft fluff and sew them together. It is an amazing feeling to watch a simple ball of yarn slowly turn into a cute animal.
Please note that this article is just a general guide to help you get started. The below video contains all the steps you need to follow along and make your own cat from start to finish.
Choosing Your Materials
Before you begin, you need to gather a few simple tools:
- Yarn: For beginners, a medium-weight acrylic or cotton yarn is best. It is easy to see your stitches and it does not split easily. You can pick any color you like—cats can be orange, grey, black, or even bright purple!
- Crochet Hook: Make sure your hook matches your yarn size. When making toys, it is usually smart to use a hook that is a little bit smaller than what the yarn label suggests. This keeps your stitches tight so the stuffing does not peek out.
- Stuffing: Polyester fiberfill is the most popular choice. It makes your cat soft and huggable.
- Safety Eyes: These are small plastic eyes that snap into place. They give your cat a lot of personality. If the toy is for a very small baby, you can embroider the eyes with black yarn instead to keep it extra safe.
Tips and Tricks for Success
Making toys can be tricky at first, but these simple tips will help you avoid mistakes:
Use a Stitch Marker: When crocheting a cat, you will usually work in circles without stopping. It is very easy to lose track of where you are. Place a stitch marker (or a colorful paperclip) at the first stitch of every row so you never get lost.
- Keep Your Stitches Tight: If your stitches are too loose, the white stuffing inside the cat will show through. Pull your yarn gently to keep everything firm.
- Count Your Stitches: At the end of every round, take a second to count your stitches. It is much easier to fix a mistake right away than to realize five rows later that your cat’s head is looking a bit lopsided.
- Take Your Time with Sewing: Rushing to sew the ears and tail onto the body can make the cat look crooked. Use sewing pins to hold the parts in place first so you can check how it looks before you sew them tightly.