Fun Crochet Dinosaur Pattern Free
Video Tutorial Included
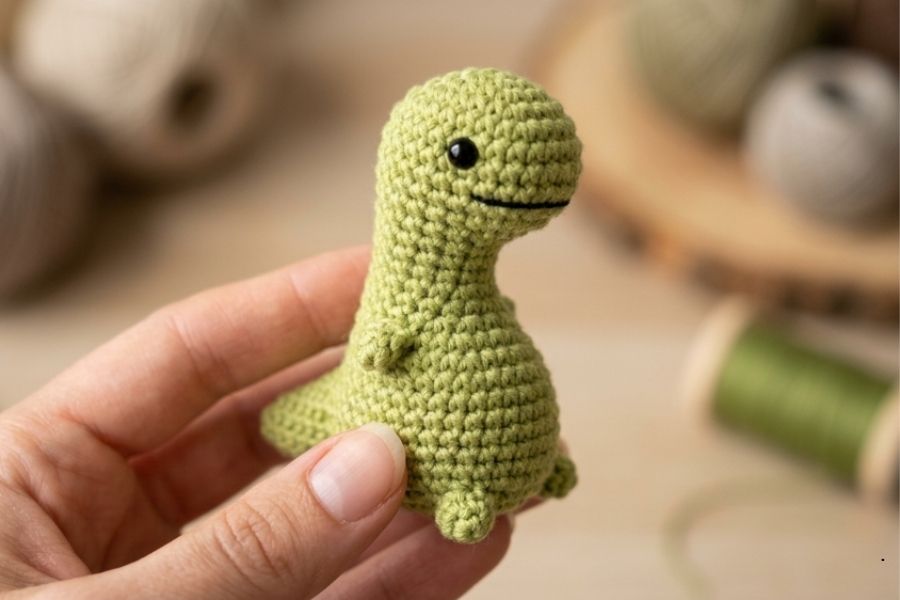
Bring a prehistoric companion to life with this charming sitting dinosaur crochet pattern. Designed as a gentle giant with a cute little belly and a seated posture, this amigurumi project is perfect for dinosaur lovers of all ages.
Whether you choose to craft it in classic green, vibrant blue, or a playful pink, it makes an unforgettable handmade keepsake.
Designing with Miniature Amigurumi Proportions
Crafting tiny amigurumi requires a unique approach to structural proportions. When working with small stitch counts, minor changes in your stitch placement dramatically alter the final character of your plush. Ensuring that the decreases around the face line up precisely creates an accurate muzzle shape, while careful timing of the increases sets up a well-defined neck and a beautifully rounded belly.
Stitch Definition and Seamless Popcorn Features
The defining characteristics of this tiny dinosaur—its stubby arms and legs—are created natively using texture-rich popcorn stitches. For a clean finish, the video tutorial below demonstrates how to transition smoothly from single crochets into a multi-stitch double crochet cluster. Gathering these stitches correctly ensures the limbs pop outward proudly from the body without leaving structural gaps in the surrounding fabric.
Balanced Filling Techniques for Seated Plushies
How you distribute fiberfill stuffing inside your dinosaur directly dictates its final posture. To ensure the finished toy sits perfectly flat on a surface rather than tipping over, the base must be shaped mindfully during the closing process. Pressing the stuffed body flat and pulling the yarn tail deeply through the center core allows the bottom to flatten naturally, creating a steady, weighted foundation.
Perfecting Facial Feature Symmetry
An amigurumi truly comes to life when its facial features are balanced. For a symmetrical expression, counting the rounds down from the crown of the head guarantees the safety or glued eyes sit on an even plane. Mirroring the soft embroidered cheeks directly beneath the eyes gives your dinosaur an instantly recognizable, innocent look that highlights its handmade charm.
Step-by-Step Video Tutorial
The below video contains all the steps you need, from working the initial rounds of the head to assembling the tail, attaching the eyes, and finishing the face.